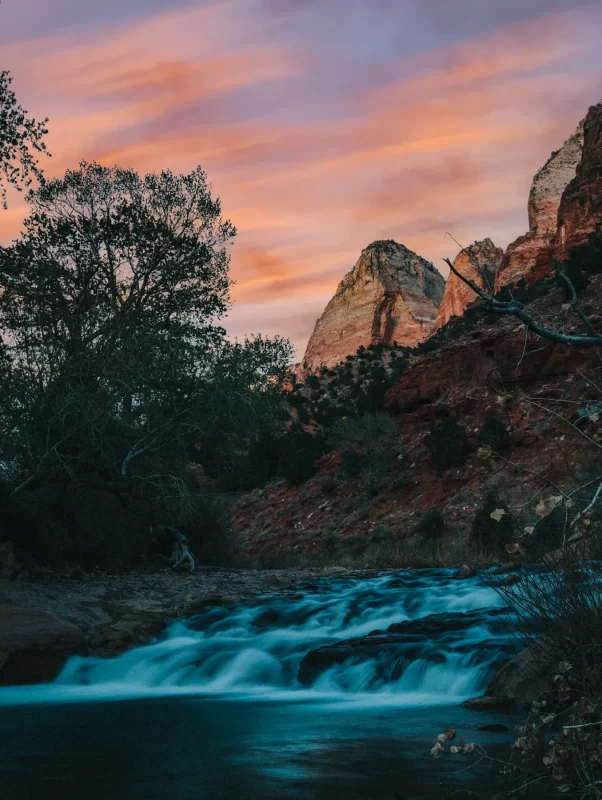
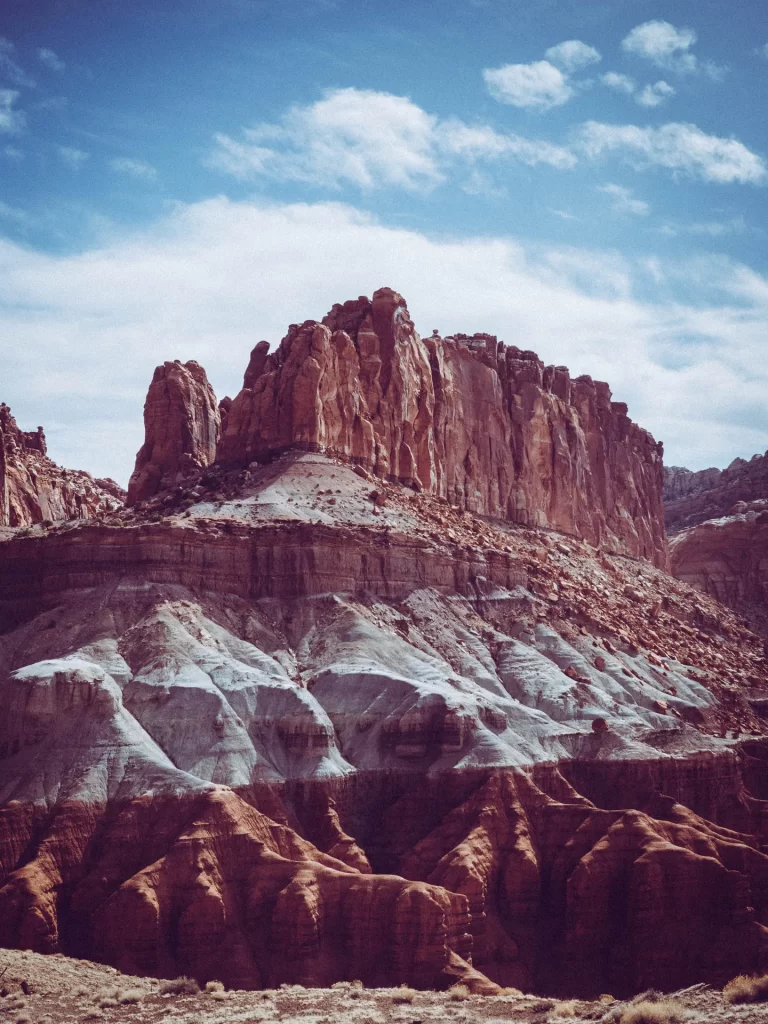
“These are the Temples of God, built without the use of human hands, A man can worship God among these great cathedrals as well as in any man-made church-this is Zion.”
Isaac Buhannin
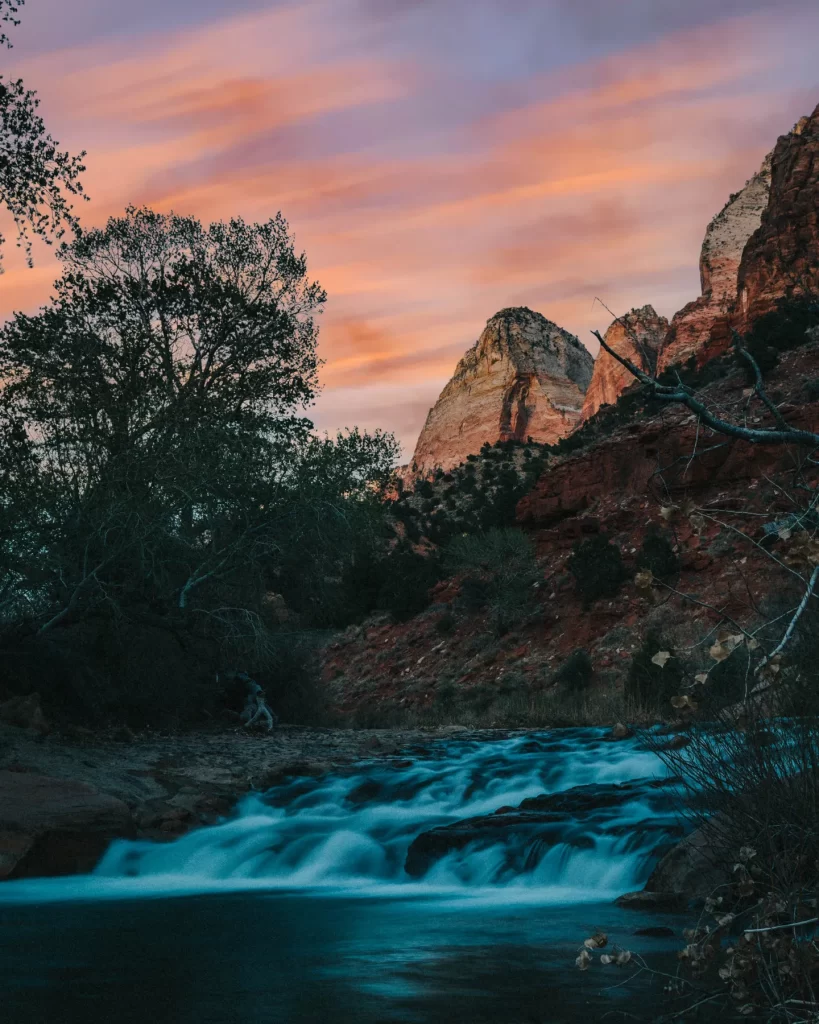
In 1858, Nephi Johnson, One of Brigham Young’s scouts, arrived at the canyon’s mouth with a party of Indian guides. Due to superstition, the Indians refused to enter the canyon. The scouts continued on into what is now Zion National Park to a place “where the sun is seldom seen,” presumably meaning the narrows. Upon returning to the mouth of the canyon at nightfall, Issac Buhannin, after seeing the spires of Zion, remarked, “Surely this is God’s first temple and should be called Zion.”
Top Things To Do In Zion National Park
9. Checkerboard Mesa / Famous Zion Tunnel

Zion National Park has two main road entrances. If you are coming to Zion for the first time, make sure you do this road first! We did this road, and it was a great way to see Zion for the first time. After passing the east entrance pay station, you follow a windy road through an epic canyon. One of the first sights will be Checkerboard Mesa. This is a unique rock formation that, well, looks like a checkerboard. There is a turnoff where you can stop and take all of your pictures. Once you’ve got pictures, continue on to the canyon, where you may or may not be stopped at the entrance to the Zion tunnel.
Traffic Control at Zion National Park
During the day, the traffic is controlled for oversized vehicles, so you may be waiting here for a while. This is also the trailhead for the Canyon Overlook hike I will talk about later on. Once the ranger waves you through, you travel through a long dark tunnel. Continue on until you see the light at the end. No, you haven’t died and gone to Heaven; you’ve simply arrived in Zion.
8. Pa’rus Trail

This trail starts and stops at the visitor center. It’s a paved, 3.4-mile trail that runs along the Virgin River. It’s a beautiful walk, and you don’t need a shuttle ticket to access this area. If you want to catch a fantastic sunset, follow this trail to the bridge at the end of the trail. As you look back towards where you started, you are met with an absolutely picturesque view of “The Watchman.” We hung out under the last bridge and watched the sun set on the valley. It was one of my favorite memories of Zion.
7. Riverside Walk

If you are doing The Narrows Hike, you will be doing this portion of the hike as well (unless you are doing the narrows top-down; more on that later). This trail does require you to take the shuttle, so make sure you have a valid shuttle ticket. The shuttle stop for this trail is the “Temple of Sinawava” stop. If you can’t get a shuttle ticket, you can rent a bike, hire a shuttle, or hike the 7 or so miles up to the trail. This hike is similar to the riverside walk; you are just further upriver. Along the walk, we saw lots of deer and loads of wild turkey. You can continue into the river at the end of the hike if you are doing the narrows or head back to the shuttle stop to continue your adventures.
6. The Grotto & Emerald Pools

We didn’t have time to see these, but from the pictures, they are definitely on the list for the next time we come back! This is another stop that requires a shuttle ticket. The stop for this trail is aptly named “The Grotto.” From the stop, you can choose which way you want to go and in which order to see the pools. There is no swimming in any of these pools, so enjoy yourself from a distance.
5. The Subway

This is another hike we missed out on. This hike requires a special permit, and unfortunately, the park service only releases so many. There are two options for this trail. You can hike “top-down”” or you can hike “bottom-up,” similar to the narrows. Hiking top-down requires special mountaineering equipment and some swims in deep water, but from what I’ve seen from pictures, this would be the way to go (if you know what you are doing). Many people elect to do the bottom-up hike as it does not require any special equipment. We can’t wait to try this one on our next trip!
4. Canyon Overlook
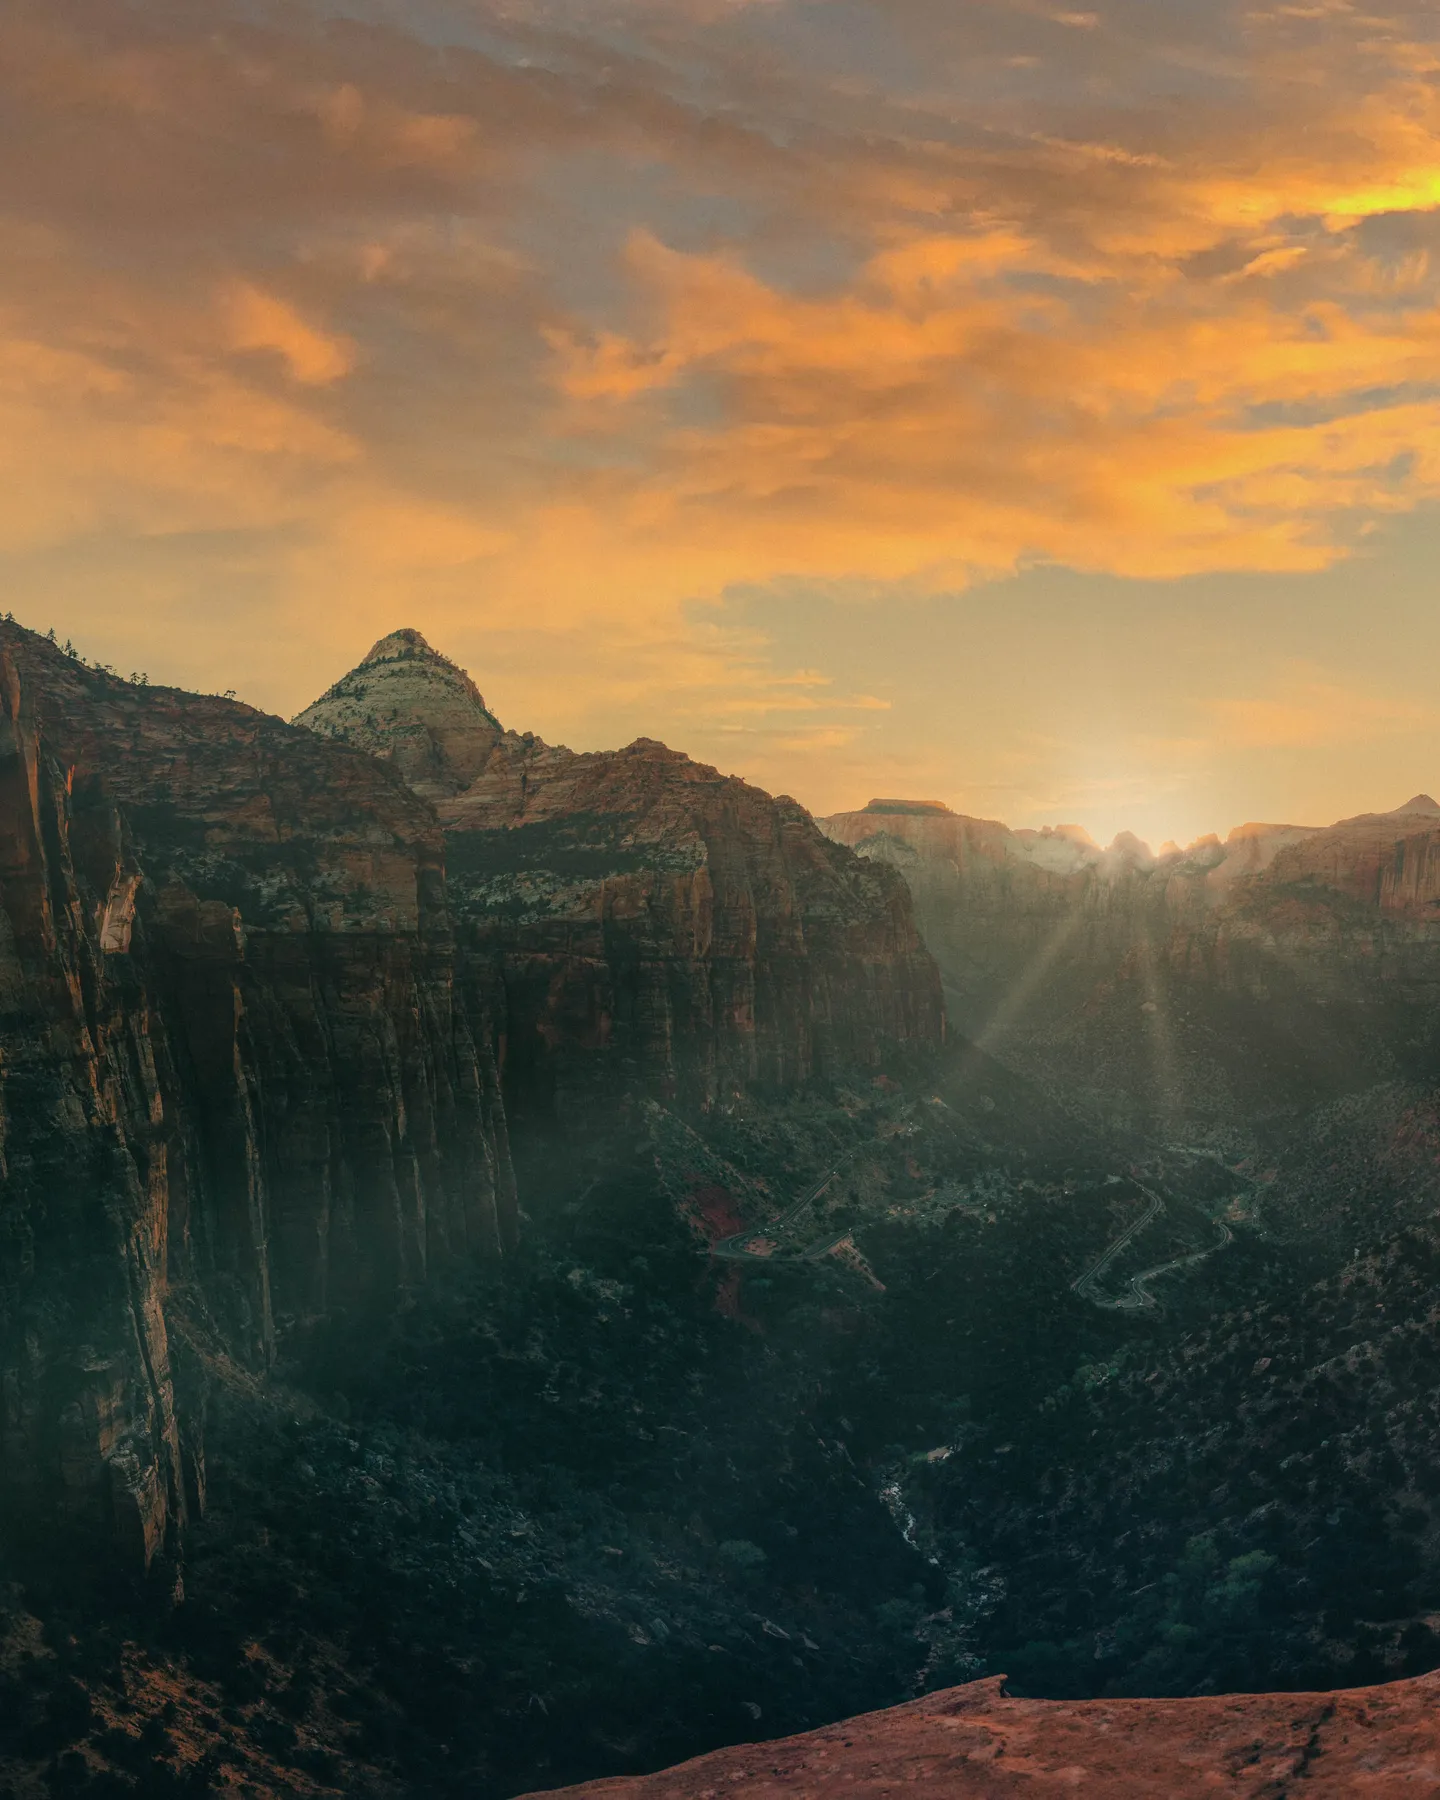
Total Distance: 0.9 miles
Total Elevation: 390 Ft.
Difficulty: Easy to Moderate
This hike is short and sweet, but you should definitely add it to your list. I had seen a sunset picture of the overlook at the end of this hike, and I knew that I wanted to get a similar picture too! Parking for this hike during the peak season can be a nightmare. There is a small lot near the trailhead, but there are two problems with this lot.
Parking is a Problem
The lot is only accessible via the eastbound lanes of the tunnel entrance; plan for this, so you don’t have to go through the tunnel, turn around, and go back through the tunnel. The 2nd problem with this lot is there are only a handful of spots. You will most likely need to park elsewhere as people wait in the lot for people to leave. Luckily there are plenty of places to park along the road and walk down to the trail. This adds on a bit of distance, but the hike is less than a mile roundtrip, so why not.
We parked up the road a bit, and as we were walking in, we just happened to look up the cliff, and there, right above the road, were 4 or 5 mountain goats. These guys were there pretty consistently during our trip, so keep an eye out!
Canyon Overlook Hike in Zion National Park
As for the hike, it’s relatively easy. The first bit is slippery stone steps, so be careful and hold onto the railings. Past this, continue on, and make your way to what seems like the edge of the world. This hike was pretty crowded, most likely due to it being so short, but there was plenty of room at the overlook. Be sure to arrive an hour or so before sunset to claim a spot, as around dusk, it did get busy. Since the sun will be setting behind a mountain ridge, you should have plenty of light left to get you back to your car without a headlamp, but if you walk at a slow pace, make sure you pack a headlamp just in case.
3. Observation Point via East Mesa

Total Distance: 6.7 miles
Total Elevation: 695 Ft.
Difficulty: Easy to Moderate
Hiking to Observation Point via East Mesa is not the “traditional” way to hike this. Typically this hike starts inside Zion and requires you to climb up and out. However, due to a giant rockslide, the regular trail has been closed for quite some time (as of April 2021). This way feels like cheating, but after all the hiking you are doing anyway, it’s just this once.
Getting to the Trailhead
To get to the trailhead, you actually have to leave Zion and head to the east mesa. It’s recommended to have a high clearance vehicle as the road when we went was RUTTED. Some ruts were 2 or 3 feet deep, so it would be extremely easy to get stuck if you don’t know what you are doing. We did not have a high clearance vehicle, so we elected to stop at a large dirt lot around 0.6 miles to go to the trailhead.
Finding Parking
If you are one of the first ones to the trail, the lot could be easy to miss, but as long as you follow your navigation app, you’ll see it around 0.6 miles. This adds to the hike’s length, but it makes up for it since we are cheating already. The hike is relatively flat until you get towards the end, which it starts to head down pretty quickly.
One of the Best Views of Zion National Park
Once you get to the overlook, you are met with sheer drops all around you. In the distance, you can see the beautiful canyon, and Angels Landing looks small in comparison. We got to the trailhead around 7 am, and we were the first to park in the dirt lot, but 2nd on the trail; someone braved the ruts. We passed the two girls on their way back, and we had the point to ourselves for a little bit before it started to get busy. We must have passed 50+ people on our way back, so make sure you start the hike early if you want some peace with nature.
2. Angel’s Landing

Total Distance: 4.4 miles
Total Elevation: 1,604 Ft.
Difficulty: Moderate to Hard
This was the hike on my bucket list that I wanted to check off. You need a shuttle pass to get to this hike, or you can use one of the options listed below. I knew that this hike had the infamous “chain” section, but I wasn’t really too worried about that. This is rated as one of the most dangerous hikes in the world. People fall and die on this hike. You need to take your own safety on this hike seriously and be wise. Don’t try and pass people because they are going too slow. They are going slow for their safety. Do not try to pass them and cause the both of you to fall to your deaths; it’s just not worth it. If it’s raining/snowing, again, the hike is not worth it. The hike will be there to be completed another day.
Angel’s Landing Hike in Zion National Park
With that out of the way, onto the hike. We had to change up plans during our stay because they were repairing the chain section, which means the whole hike was closed. The rangers in the park made it very clear when it was closed, but you can also check the Zion NPS Twitter for real-time updates. The trailhead is located at “The Grotto” shuttle stop. The hike is only 4.4 miles, but you are climbing the entire time. There were parts on this hike that were some of the steepest sections I’ve ever hiked. As you start, you can see off into the distance, and very high up, where the trail leads. I thought to myself, “WOW, WE ARE GOING UP FAST.”
It Gets Easier
Eventually, you get to a level portion to rebuild some leg strength, which was a nice break, then it was back up. Shortly after the level portion, you hit the switchbacks. The switchbacks are short but steep; take breaks as needed. Once you get to the top of the switchbacks, you are at what is known as “Scout’s Lookout.” For some people, this is all the adventure they need, but for the adventurers, we continue onward.
The Chains
You have now arrived at the infamous chain section. Yes, it really is a sheer drop on either side. Yes, you will die if you slip. If you are afraid of heights or tend to get vertigo, this is where you should turn around. We started the hike early, so luckily, there weren’t many people coming down. Be courteous to the people coming down. It’s a lot more dangerous for them as it’s easier to slip, thanks to gravity. Give people coming down plenty of room as best as you can; this is narrow. If they cannot safely pass you and you do not feel comfortable, now is not the time to be timid and shy. Let them know they need to let you come up before they can come down.
Take a Seat
If you do manage to find a place for someone to pass you, it’s best if you sit down as far off the trail as possible. This lowers your center of gravity, and you are less likely to slip. Continue slowly up the chains; feel free to look down the 1,000+ drop as you climb. Eventually, you will reach the official Angels Landing. Here you have a great place to sit and rest and take in the views. There are lots of chipmunks up here, and they are definitely not shy at all. They will climb right up to you, especially if you have food. Make sure not to feed the wildlife.
Time to Head Back Down
Once you’ve had your fill of the views, it’s time to make your way back down. This is significantly easier if you go when a large group of people happens to be heading down. We were lucky and saw a large group heading down, and we jumped on the opportunity. People are more likely to be polite when they realize that 15+ people need to get past them. The group that we found made it all the way down, only having to stop for other large groups going up. Again, don’t push it. If you need to take your time, this is much more important than getting down with the group. Go as slow as you need to.
Be Courteous to Others
We did reach an impasse where people just kept coming up, and they had nowhere to go. They needed to let us go by, so they had room to go up. This is just a time where someone needs to speak up and let them know there is no more room for them to come up, and they need to let people down before they can come up. If no one had said anything, we’d still be standing up there on Angels Landing. If you explain the situation, people will be more than happy to let you down. Just be receptive to what people are saying and asking, and use common sense.
1. The Narrows

Total Distance: 9.6 Miles
Total Elevation: ??? No GPS in Canyon
Difficulty: Easy to Moderate
I certainly wasn’t looking forwards to walking through water for the greater part of a day, but it was a hike on my wife and I’s bucket list. We saw people doing this hike in regular hiking clothes and shoes, but we opted to rent gear. We rented equipment from Zion Outfitters (not sponsored) and had a great experience. Since we had an early shuttle, they let us pick up our gear the night before. This hike is 100% dependent on weather and on snowpack. Flash floods are a real danger. Be sure to check the forecast for rain. Also, if the river has too much flow, you won’t be allowed to hike this. The river flow can be checked at Zion Outfitters, as they have a nifty display.
The Narrows Hike in Zion National Park
The stars aligned for our hike, and we were good to go. The water was 37°F, so we were glad to have the rental gear. We got shoulder-high waders, neoprene socks, water boots, and a hiking stick in our rental package. I was worried about my feet getting cold since they get wet, but they were actually pretty warm for the entire hike.
Shuttle Ticket Required
This is another hike that requires a shuttle ticket. The shuttle stop for this hike is “The Temple of Sinawava.” After getting off the shuttle, follow the riverside walk to the end, where the steps ominously lead you down into the river. The first half of the hike is all against the current. We found it best to walk the dry sandy parts where we could and only cross when needed. Eventually, you will reach a fork in the canyon. If you go right, it will be about a mile, and then you hit a dead end and have to turn back. We didn’t explore this offshoot. Instead, we continued left, which, right after the fork, puts you into the part of the canyon known as “Wall Street.”
Wall Street
It’s obvious where the name comes from. This is the part of the canyon where the canyon walls start to close around you. There are some points where it seems like if you stretched your arms out, you’d be able to touch both sides of the walls. Here, the water does tend to get a bit deeper, and there are no sandy portions to get out of the water. In the deeper sections, it helped to have a walking stick, as the flow of the water was pretty intense. Eventually, we made it just past wall street and couldn’t go any further without swimming. This is also as far as you can go without a backpacking permit. Instead of going for a swim, we opted to head back downriver.
Heading Back
The way back is a little different than the way up. You are going with the river’s flow, so it’s a little easier physically, but the water will push your feet, and it’s a lot easier to trip; take it slow. This was another excellent example of why it was better to start early. On the way up, we had 2 or 3 people ahead of us. They were respectful and quiet. On the way back, you have screaming kids and people. We overheard one guy in shorts and flip-flops heading upriver that “this hike just was terrible and nowhere near what he wished it would be.”
“This hike is terrible!”
We couldn’t help but look at each other and laugh. He was woefully underprepared, and he was walking up the canyon with 500+ other people. I would have thought the same thing going up then. Eventually, we got back to our rooms, and I wound up sleeping for about 14 hours. It didn’t seem like it at the time, but it wore me out! I definitely recommend doing this hike early, and if your experience is anything like mine, it will be a magical, out-of-this-world experience.
Where To Stay Near Zion National Park
Camping
There is camping within the park; however, they are by reservation only, and the reservations fill up quickly! The main campground is across the way from the visitor center and is centrally located within the park. You are still going to need to take the shuttle to get into the canyon.
Hotel / Motel
There are plenty of hotels in the town of Springdale. This town is literally minutes away from the park entrance, and there are plenty of hotels to choose from. There are also lots of restaurants nearby. If you get a hotel close enough to the entrance, you can walk into the park. For those that have a hotel a little further away, the city of Springdale offers a free town shuttle that will take you to the Zion Visitor Center.
Lodge
The lodge in Zion was at limited capacity when we went, but if you can snag a room here, it will be well worth it. At the end of the day, when everyone else has to leave the canyon, those staying at the lodge can remain within the park since the lodge is past the shuttle gate. You get to have a little peace and quiet without a swarm of people. This also means that you can get a head start on trails if you are up to walking to them. You could start early on Angels landing or the narrows and have them all to yourself.
Things To Remember In Zion National Park
1. Hydration
- Remember, you are in a desert. The hot air mixed with the dry climate is a recipe for dehydration. If you are thirsty, you are already dehydrated—plan on having 1 gallon of water for every person per day.
2. Follow the signs
- If the signs tell you to stay on the trail, you should stay on the path. The desert soil is very fragile and an essential part of the desert ecosystem. Make sure that future generations will be able to experience incredible sights as well.
- If a sign says, “don’t feed the animals,” then don’t. Feeding wild animals harm their overall health. It also makes animals more likely to come up to cars, which leads to more animals getting killed by cars.
3. Leave your four-legged friends at home
- While dogs are allowed in the campground, dogs are not permitted on the trails. If a ranger sees you trying to take your dog on a trail, they will turn you around.
4. Leave No Trace
- As the saying goes, “Leave only Footsteps.” Don’t spoil the landscape with your trash. It wasn’t there when you got there, so pack it out with you. Leave no trace also means that you should leave the environment as it is. It is illegal to remove anything from the park, including plants, artifacts, and even rocks. Zion National Park is a place of natural beauty, so make sure you leave it cleaner than you found it.
5. Be sure to wear clothing and footwear suitable for your adventure.
- Make sure your shoes still have traction, as the sand and stone combination can be rather slippery.
- Dress in layers. The mornings are usually cold, and the afternoons often get hot. Make sure you wear a hat and have plenty of sunscreen.
- If you are going to be doing the narrows, renting gear is highly recommended.
6. Bacteria Bloom
- When we went in April 2021, there was a deadly bacteria bloom in the river. They recommended staying out of the water. Even filtering your water did not render it drinkable. Read the signs, and don’t get yourself sick.
7. Shuttle
- A shuttle ticket is required in most places in Zion National Park if you want the cheapest/most straightforward way to get up the canyon to do anything. Tickets are released far in advance, and tickets go fast. The tickets for the weekend were completely sold out within 5 minutes of being released. Shuttle tickets are also released the night before if there are any left.
- Other options are available to get you up the canyon but will cost a lot more than the shuttle. Private shuttles authorized by the National Park Service can take you up and down the canyon.
- You can also rent an e-bike and take it up the canyon. Most trailheads have bike racks for this purpose. If you rent a bike, be cautious of the shuttles driving down the road.· You also have the option of walking if you don’t want to spend any extra money.
Check Out My Socials
TL;DR
Top Things To Do:
9. Checkerboard Mesa / Famous Zion Tunnel
8. Pa’rus Trail
7. Riverside Walk
6. The Grotto & Emerald Pools
5. The Subway
4. Canyon Overlook
3. Observation Point via East Mesa
2. Angels Landing
1. The Narrows
Get More Info
Get more info from the source at https://www.nps.gov/zion/index.htm
Check out my other nearby blog reviews of Utah!


